Last Updated: December 12, 2024 | Mama’s Shell
Montessori toys are amazing for early childhood development but can also be expensive. For example, a wooden carrot harvest box on Amazon can cost up to $15.
What if you could create your version at almost zero cost using household materials?
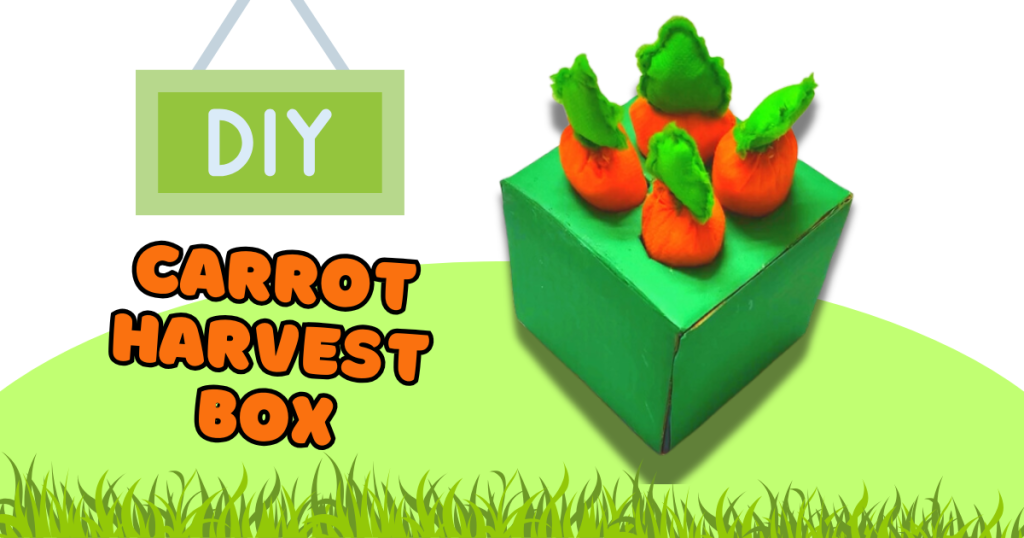
This DIY carrot harvest box is a fun, hands-on activity that develops fine motor skills, eye-hand coordination, and strategic thinking in young toddlers. Plus, it’s budget-friendly and just as functional as the store-bought version!
My little one loved this homemade box and played with it for over 6 months before it showed signs of wear. It helped her master her pincer grip and improve focus—skills essential for early development. Now, let’s learn how to make one!
Table of Contents
ToggleMaterials Needed
📦For the Box:
- 1 square-shaped cardboard box
- Paper cutter
- Bright-colored paper (to cover the box)
🥕For the carrots:
- Orange and green cloth (I used leftover grocery bag fabric)
- Scissor
- Cotton
- Needle and thread
🕐Making Time: 45 to 60 minutes with all the materials.
How to Make Your DIY Carrot Harvest Box
Prepare the Box
Cover the Box
Cover each side of the cardboard box with bright-colored paper. Cut the paper to size and glue it securely.
Measure and Mark Holes
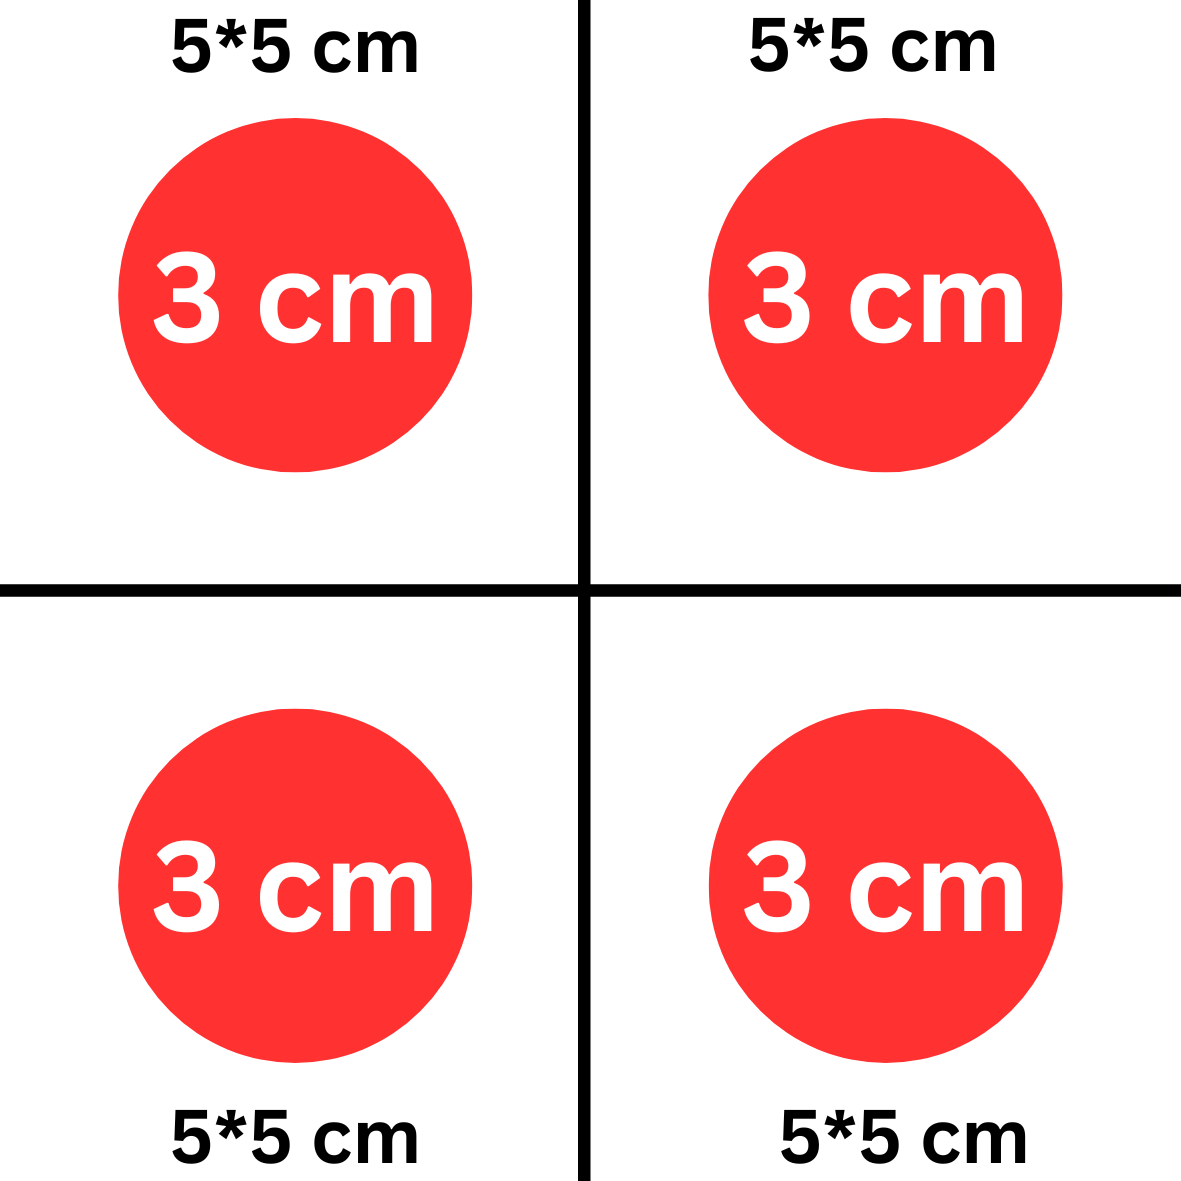
Mark four or five circles evenly spaced on the top of the box.
The box I took was square-shaped on top, 10*10 cm. I cut four circles with a 3 cm diameter.
Here is the free downloadable printable for the box measurement.

Cut the Holes
Use a paper cutter to cut out the circular holes carefully.
Create the Carrots
Cut the fabric
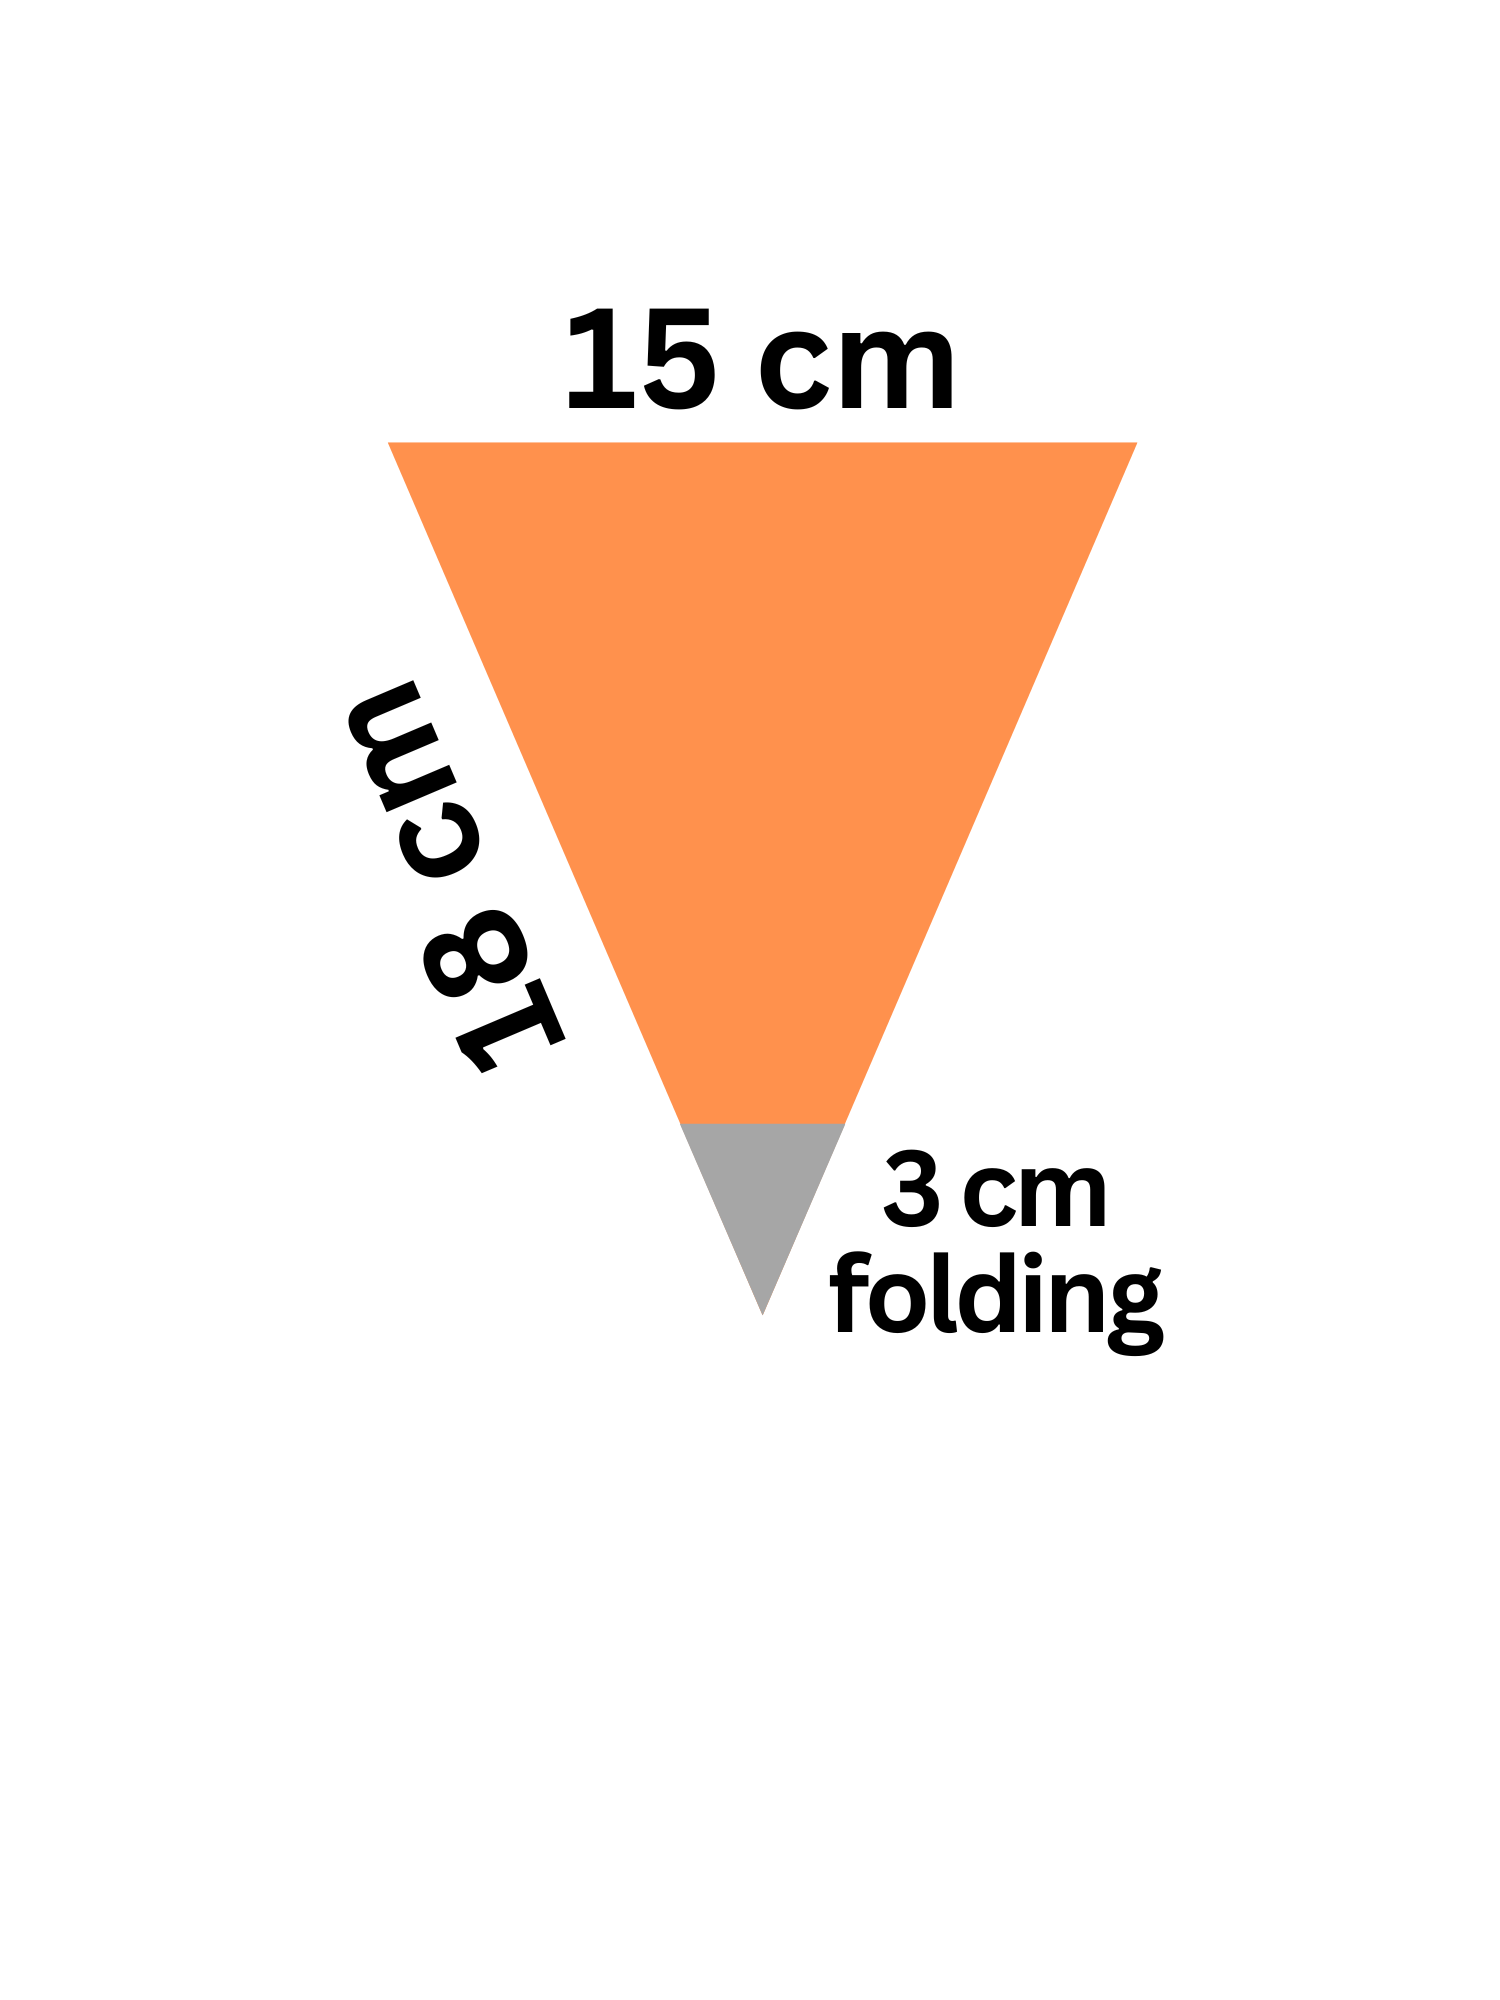
For each carrot, cut an orange fabric piece in a triangular shape.
The suggested sizes of the carrots are here.

Sew and stuff the carrots
Sew the orange fabric pieces together. Leave a small opening and fill it with cotton before closing.
My box was 17 cm in depth. The final carrot length was 12 cm each without the green leafy top.
Keep a minimum 5 cm gap from the box surface to carrot length. This gap will provide extra space for carrots to drop inside the box after pushing.
Add the green tops
Cut leaf shapes from green fabric (double-layered for stiffness). Sew the leaves onto the carrot tops and add a bit of cotton for volume.
Benefits of the DIY Carrot Harvest Box Activity

Improves Hand-Eye Coordination
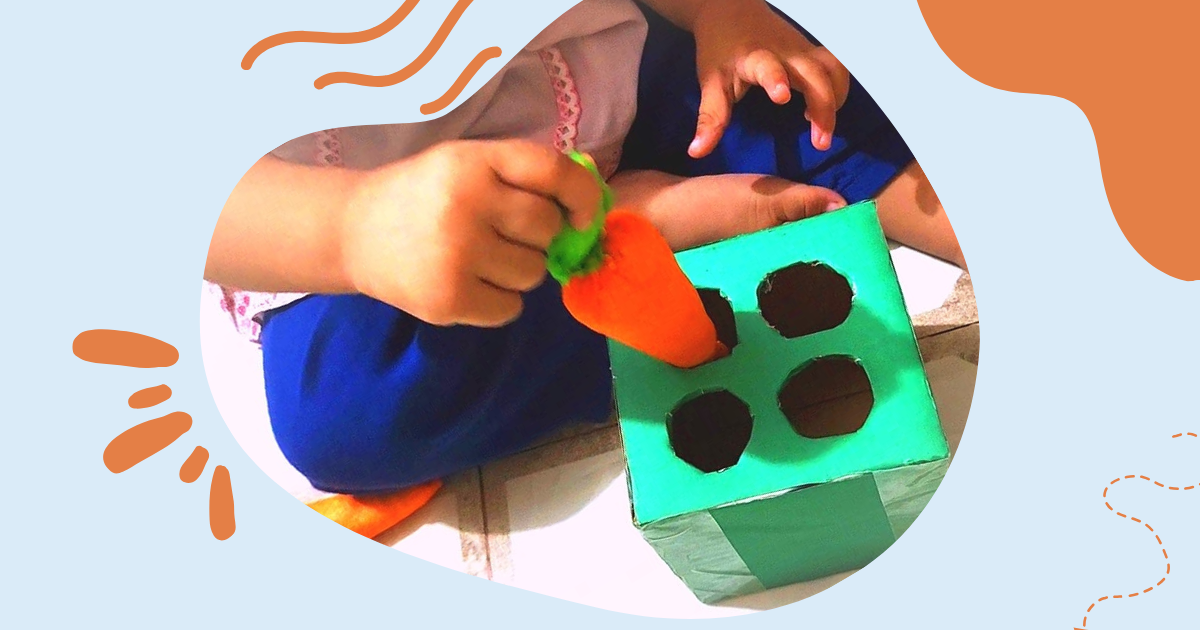
As toddlers align the carrots with the holes and push them through, they develop precise hand movements and visual tracking skills.
Builds Fine Motor Skills and Dexterity
The repetitive act of holding, inserting, and posting the carrots helps strengthen little fingers, enhancing their pincer grip.
Encourages Focus and Strategic Thinking
This activity requires toddlers to figure out how to insert the carrot efficiently—building their problem-solving abilities over time.
Teaches Cause and Effect
Pushing the carrot through the hole is a perfect example of cause and effect, a concept toddlers love exploring through play.
Pros and Cons of the DIY Carrot Harvest Box
✅ Pros
• Budget-friendly—made with household items
• Encourages fine motor development and focus
• Easy to customize with colors and sizes
• Just as functional as the wooden version
• Keeps toddlers engaged and entertained for long periods
⚠️ Cons
• DIY projects require time, which can be challenging for busy parents.
• Cardboard material can dent or rip over time—supervise play for longer use.
Why You Should Try This DIY Montessori Activity
This zero-cost DIY carrot harvest box combines learning and play, making it ideal for Montessori-inspired homes. It supports visual and spatial awareness and promotes hands-on, independent learning—core elements of the Montessori philosophy.
So, save your budget on expensive toys and give your little one this fun, colorful activity!
Have you tried making a DIY carrot harvest box? Share your experience in the comments below! I’d love to hear how your toddler enjoyed it.

