Let me guess why you’re here.
You want your toddler to explore a geoboard to help build their fine motor skills. But maybe you’ve looked at commercial geoboards — the tiny pegs, the large grids — and wondered:
Isn’t this too much for my little one?
Especially when toddlers are still figuring out how to coordinate both hands. And expecting them to create precise shapes or symmetrical patterns? That can feel like a stretch.
But here’s the good news: they don’t have to miss out on the core skill — stretching and looping.
I kept wondering — would a DIY version even be helpful?
So I gave it a try.
I made a simple, beginner-friendly DIY geoboard using Styrofoam and popsicle sticks — just enough for my toddler to practice stretching and looping rubber bands.
At first, she struggled and showed little interest. But I kept it nearby and gently reintroduced it over time. Now, at 2 years and 1 month, she confidently stretches and loops the bands all by herself!
Ages: 22 months+
prep time: 15 minutes
Table of Contents
ToggleHow This Activity Helps
Fine Motor Development
Stretching and looping rubber bands strengthens the small muscles in the hands and improves finger coordination — skills toddlers need for writing, dressing, and self-feeding.
Here is my toddler looping the elastic bands in two popsicle sticks
Hand-Eye Coordination
Placing bands between the sticks helps toddlers visually guide their hand movements, building spatial awareness and focus.
Bilateral Coordination
Using both hands together—one to hold, one to stretch—teaches toddlers to coordinate the movements of both sides of their body.
Concentration and Patience
This activity encourages slowing down, focusing, and trying again — a gentle intro to problem-solving through play.
Confidence Boost
Mastering the stretch-and-loop motion gives toddlers a sense of accomplishment, especially when it once felt hard.
Safe Sensory Play
Styrofoam’s texture and the gentle stretch of rubber bands provide a sensory experience that’s safe and not overstimulating.
When Should You Introduce This Activity
You can try this once your toddler starts working on their pincer grip.
At first, it may feel too hard—and that’s okay! Based on my experience, after 24 months, they usually have much better control and coordination.
To avoid early frustration, wait until your toddler is at least 2 years old before introducing this DIY geoboard.
Our Story: How It Started
It was a quiet afternoon in our living room.
I was sitting by the mirror, combing my hair, while my toddler played nearby. One of my hair bands fell to the floor.
She picked it up with curiosity and began stretching it between her tiny hands.
That’s when an idea sparked:
“Why not turn this into a stretching activity for her?”
Later, I looked up geoboard ideas online, but they felt overwhelming. Too many pegs, too many patterns.
I thought, “This is not for a young toddler.”
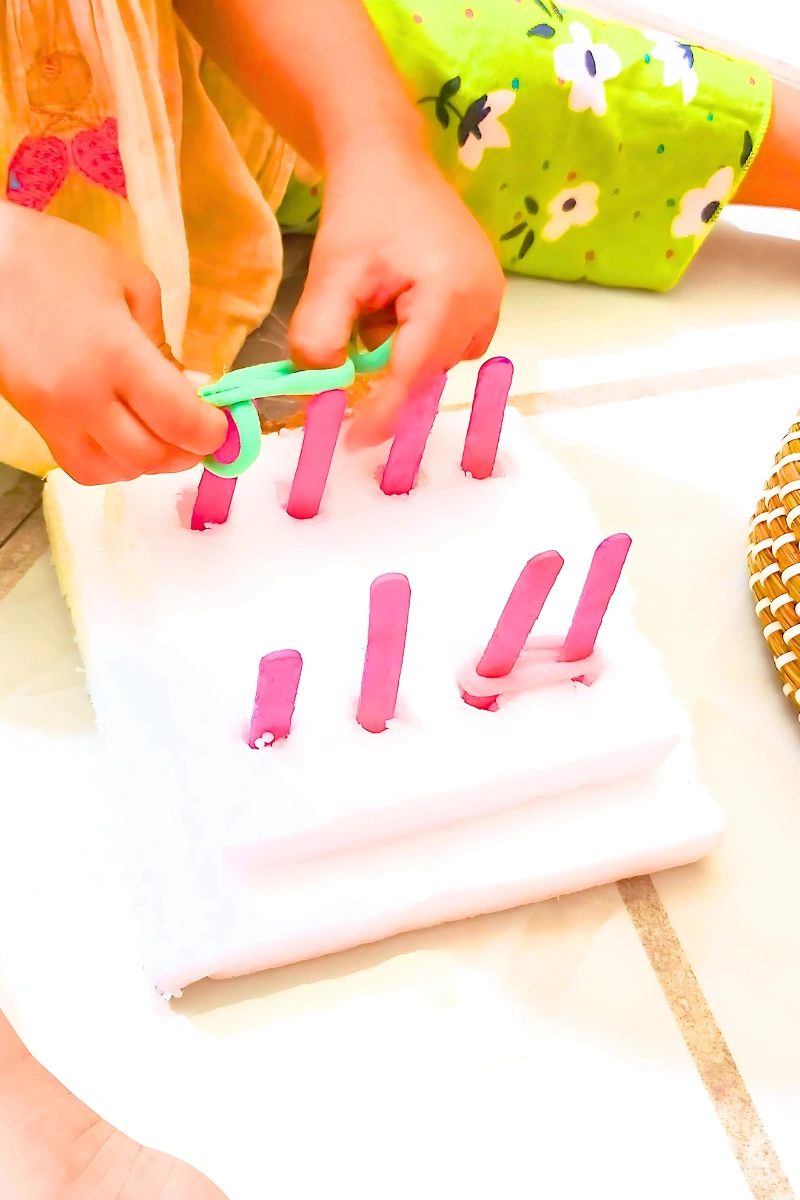
She just needed something simple — just stretching and looping.
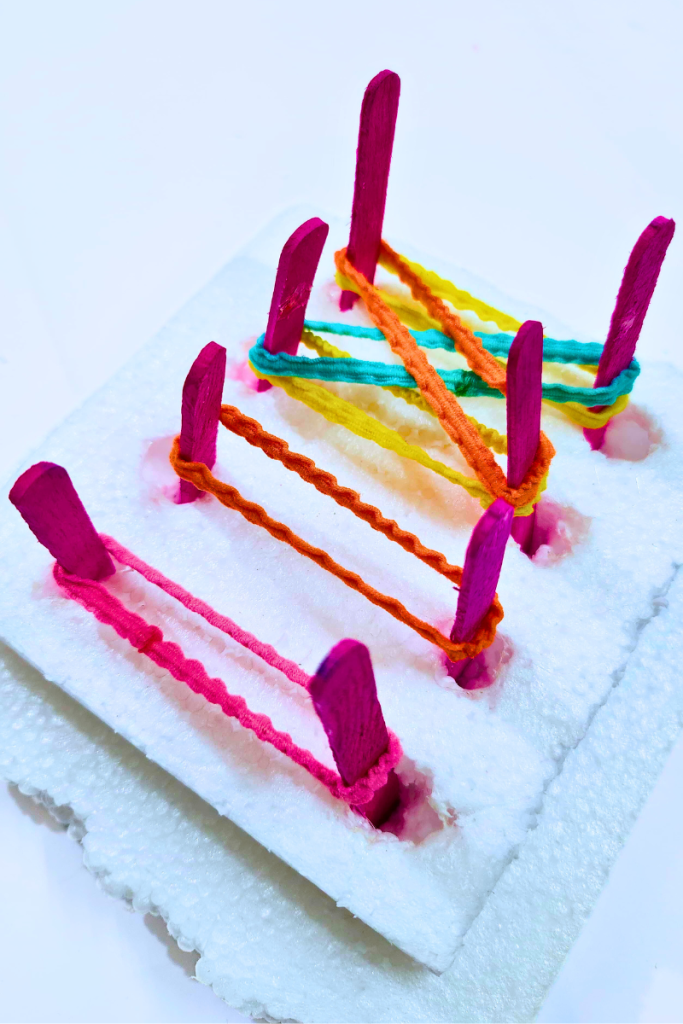
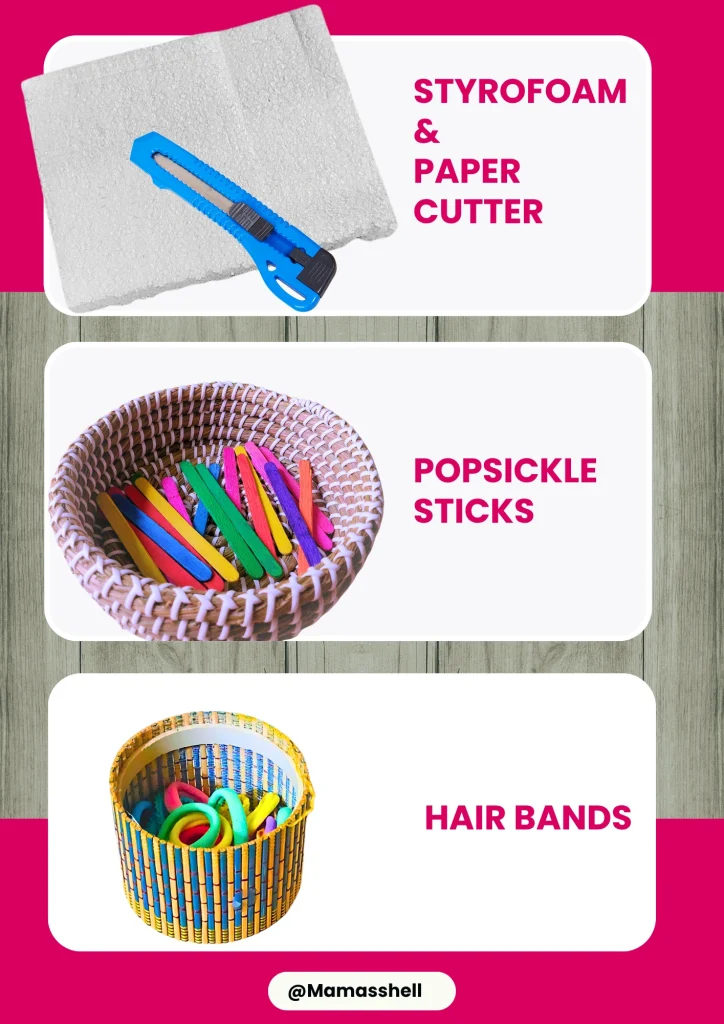
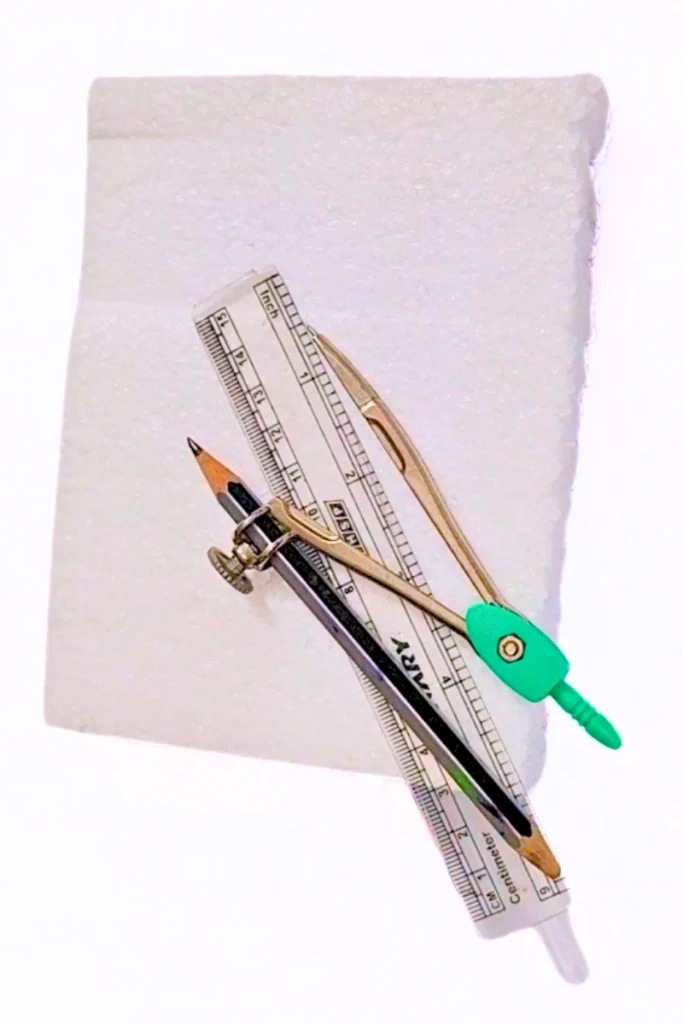
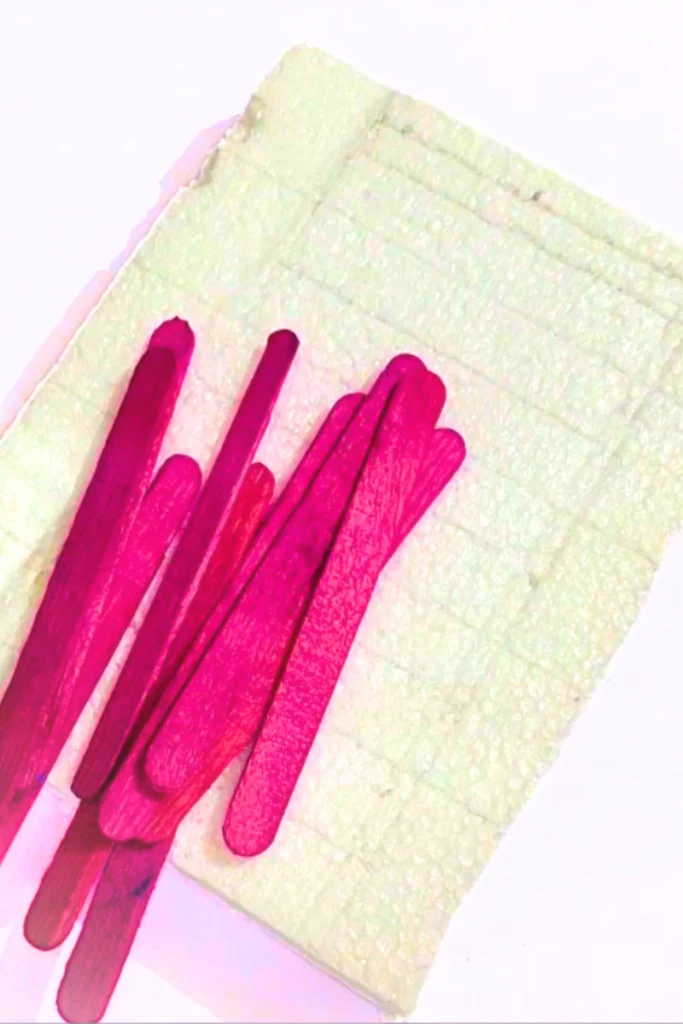
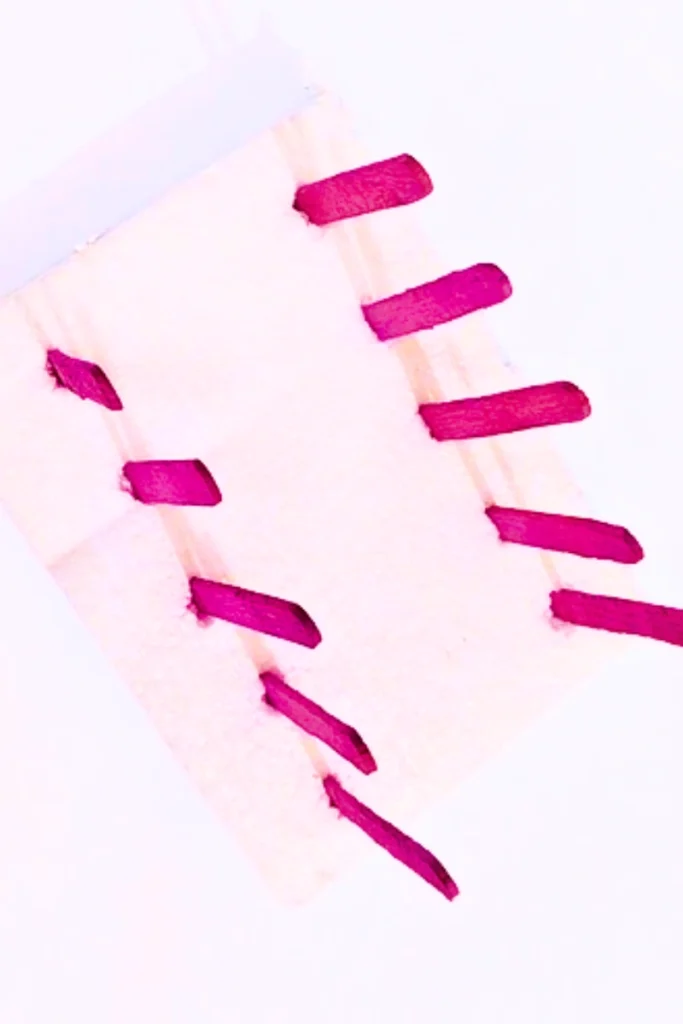
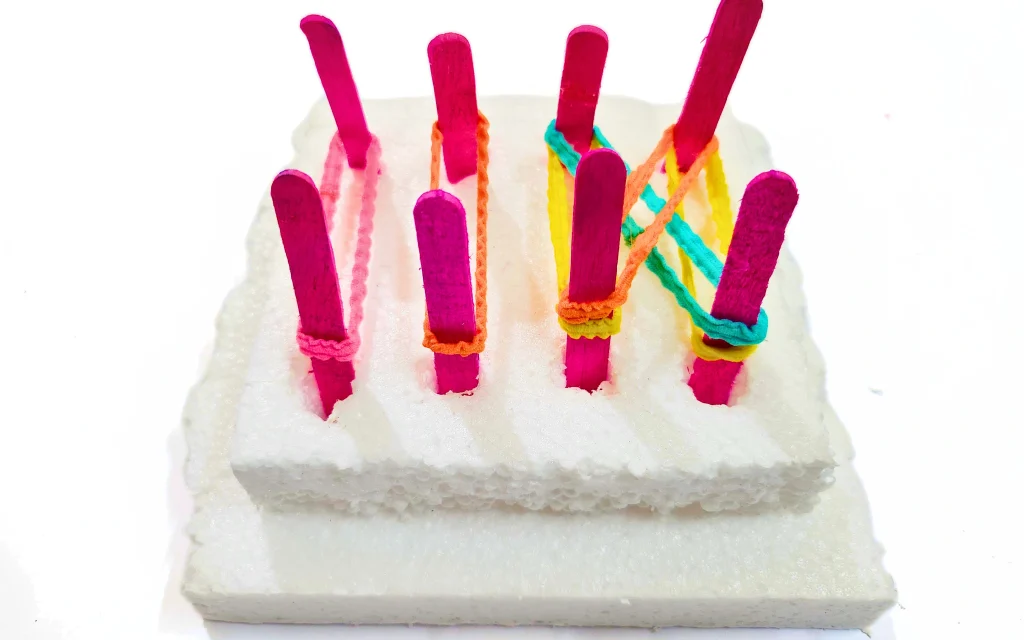
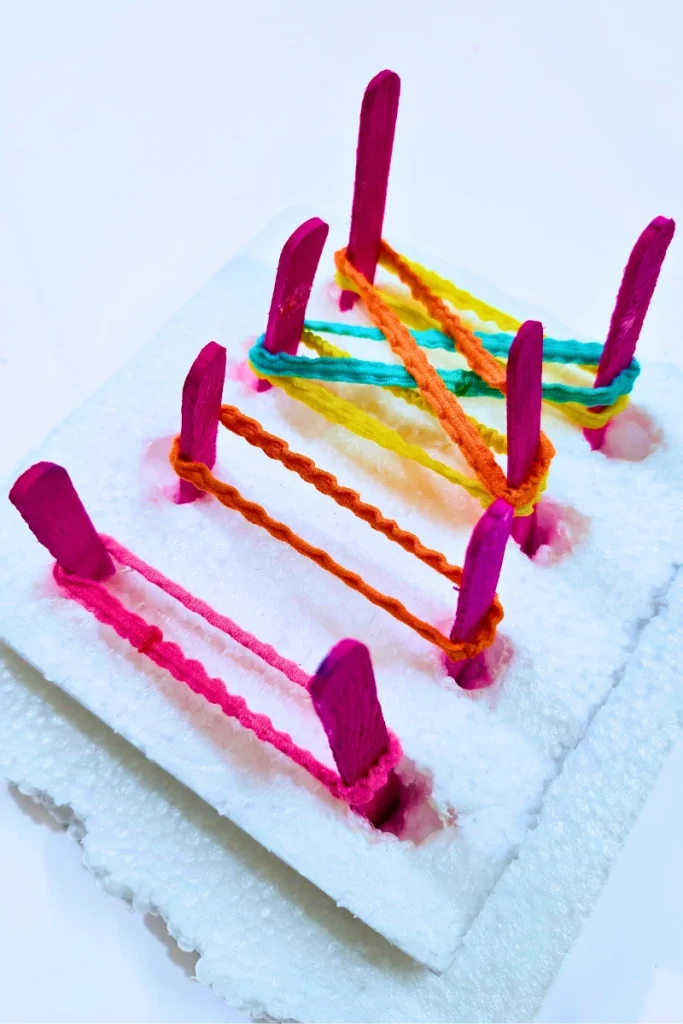
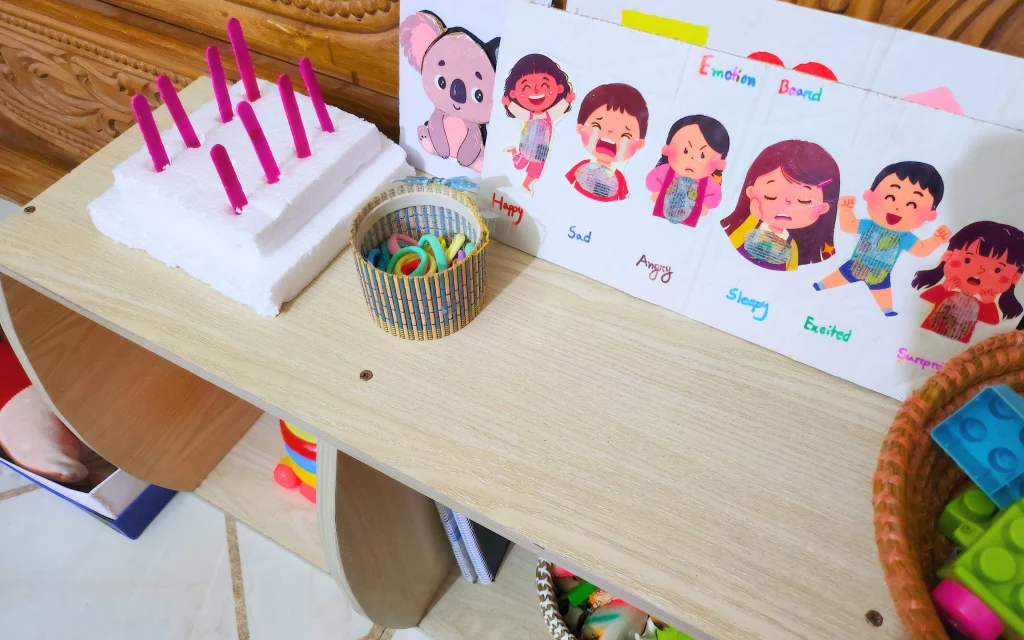
So I made a basic DIY geoboard.
She was around 20 months old when I first introduced it.
It did not go well.
She struggled to loop the bands and grew visibly frustrated. Her little hands fumbled. Her face tightened. She cried. So, I quietly put the activity away.
I tried again a month later. Still too soon. Back into storage it went.
Fast forward a few weeks.
While cleaning, I found the old geoboard. “Let’s give it one more try,” I thought.
Now at 25 months, she amazed me.
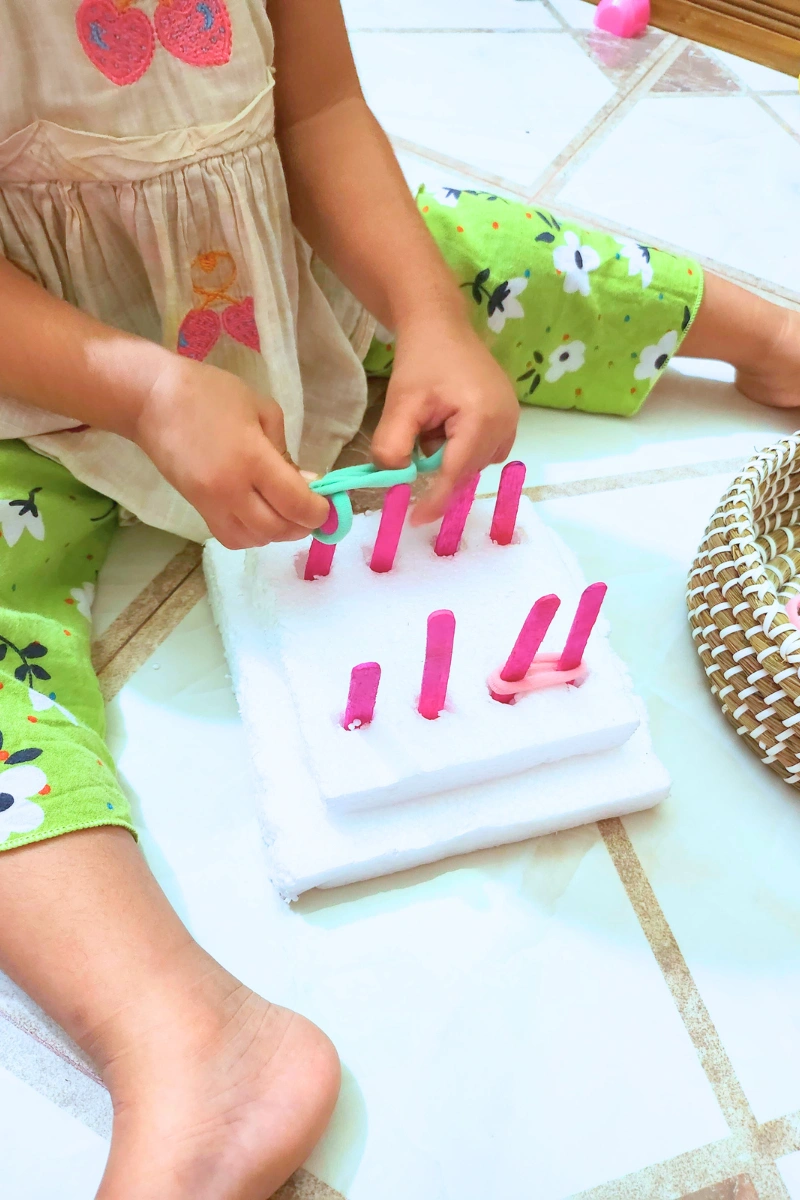
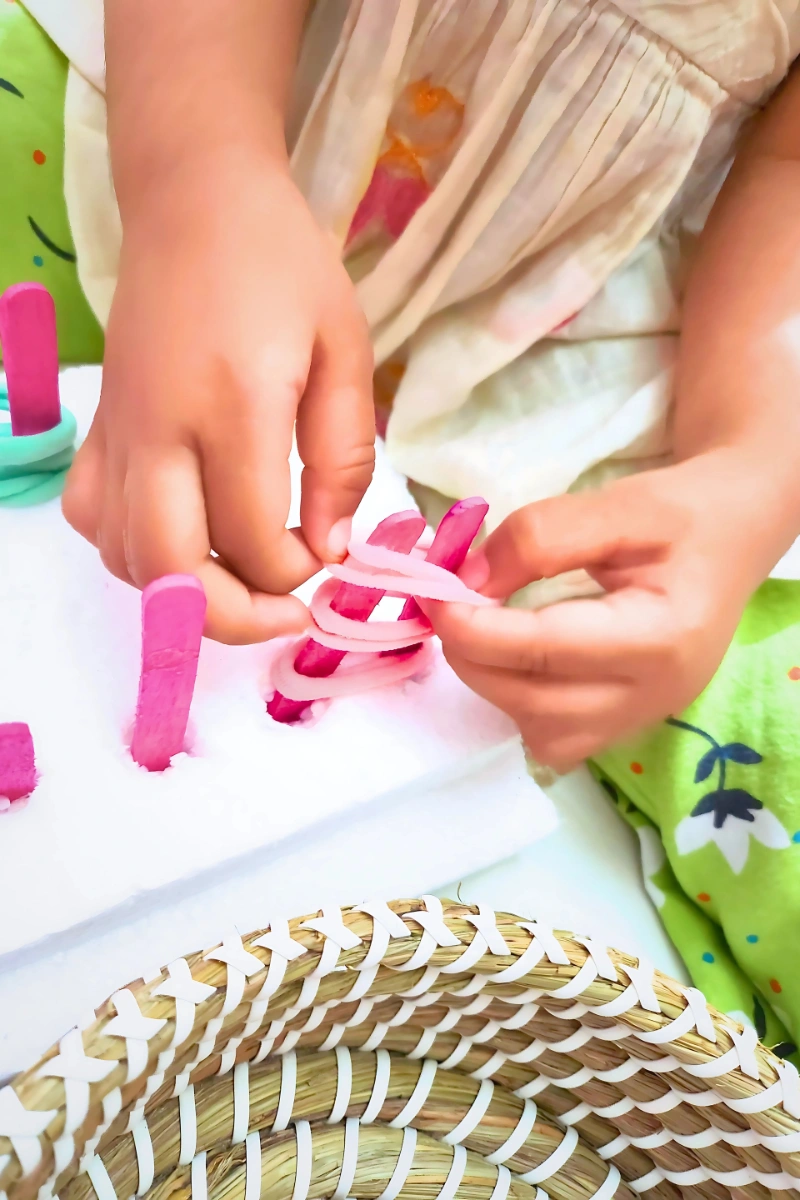
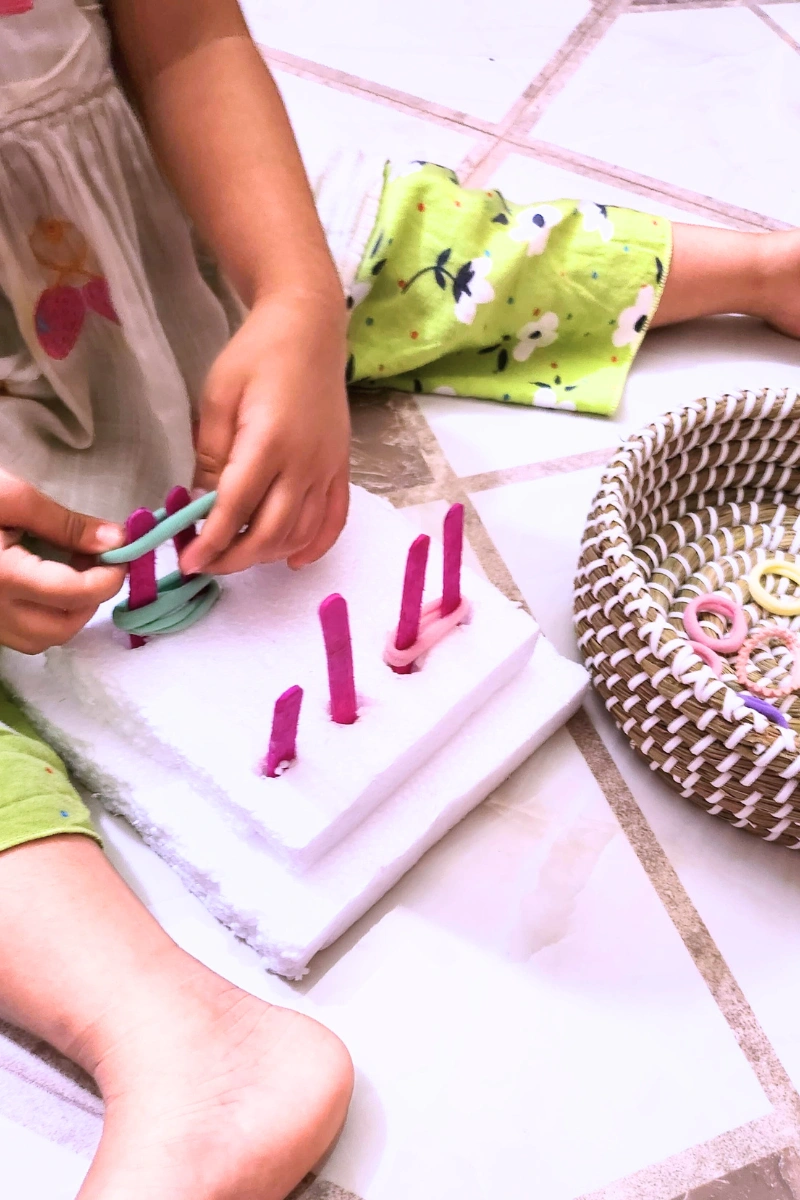
Her hands moved with ease. She stretched and looped each band with confidence.
What once caused frustration now brings her joy.
That once-forgotten DIY board? It’s now one of her favorite activities.
Supplies You’ll Need
- 1 flat Styrofoam sheet (plus one extra for base support)
- 10 popsicle sticks (or more, depending on your grid)
- Paper cutter or scissors
- A handful of elastic hair bands or rubber bands.

Before we dive into the list, here’s why each item matters:
Flat Styrofoam Sheet: The soft texture gives gentle resistance for inserting sticks. It also holds them upright without sharp edges.
Popsicle Sticks: Wide and smooth, they’re easier for little hands to see and grasp than thin pegs.
Paper Cutter: Helps make neat cuts when adjusting the foam or sticks.
Elastic Rubber Bands: Great for looping and stretching—ideal for developing fine motor skills.
How to prepare this sorting activity (step-by-step)

step 1
Take the flat Styrofoam sheet and mark two horizontal rows, leaving space between them.

step 2

Insert popsicle sticks upright into the marked spots.
step 3

Add another foam sheet underneath to strengthen the base and keep sticks secure.
In my case:
- Upper Styrofoam base: 5” x 5”
- Lower base: 6” x 6”
- Row gap: 5 inches
- Column gap: 5 cm
- 5 columns per row (though one broke during play — and that’s fine!)
Don’t stress over exact measurements. As long as it’s functional and sturdy, eye estimation works just fine.
That’s it! With minimal effort, you can recreate this simple fine motor DIY geoboard for your toddler as well.

Pro Tip: Avoid removing and reinserting the sticks too many times — it weakens the Styrofoam and creates larger holes.
And yes, toddlers might try to pull them out, too. Mine did! Gently show them how to handle the toy with care.
How to Introduce This Activity
I like the Montessori-style “presentation” approach. Here’s how I introduced it to my toddler:
I placed the geoboard on her play shelf, with the rubber bands in a woven basket next to it.

She noticed the upright popsicle sticks on the board right away, and her eyes widened with curiosity. Overflowing with excitement, she touched the geoboard upside down and asked, “What’s that?”
Then I gently demonstrated, saying, “This is a geoboard. We’ll play with it by stretching the elastic band like this—wide—and looping it between two of the popsicle sticks.”
She started to sort them by herself.
I let her explore the activity on her own.
But to be honest, it was quite a tough job to stop her from pulling the popsicle sticks out of the Styrofoam board.
When she was done, I gently encouraged cleanup by singing:
“Let’s clean up altogether in this way.
Hurry up, hurry up, and don’t be late today.”
—sung to the tune of “Row, Row, Row Your Boat”.
Then we returned everything to the shelf.
She doesn’t always help yet, but I keep trying—building the habit bit by bit.
Challenging Part of This Activity
This activity can be tough for toddlers under 2.
My toddler loved stretching bands early on, but looping? Not so much.
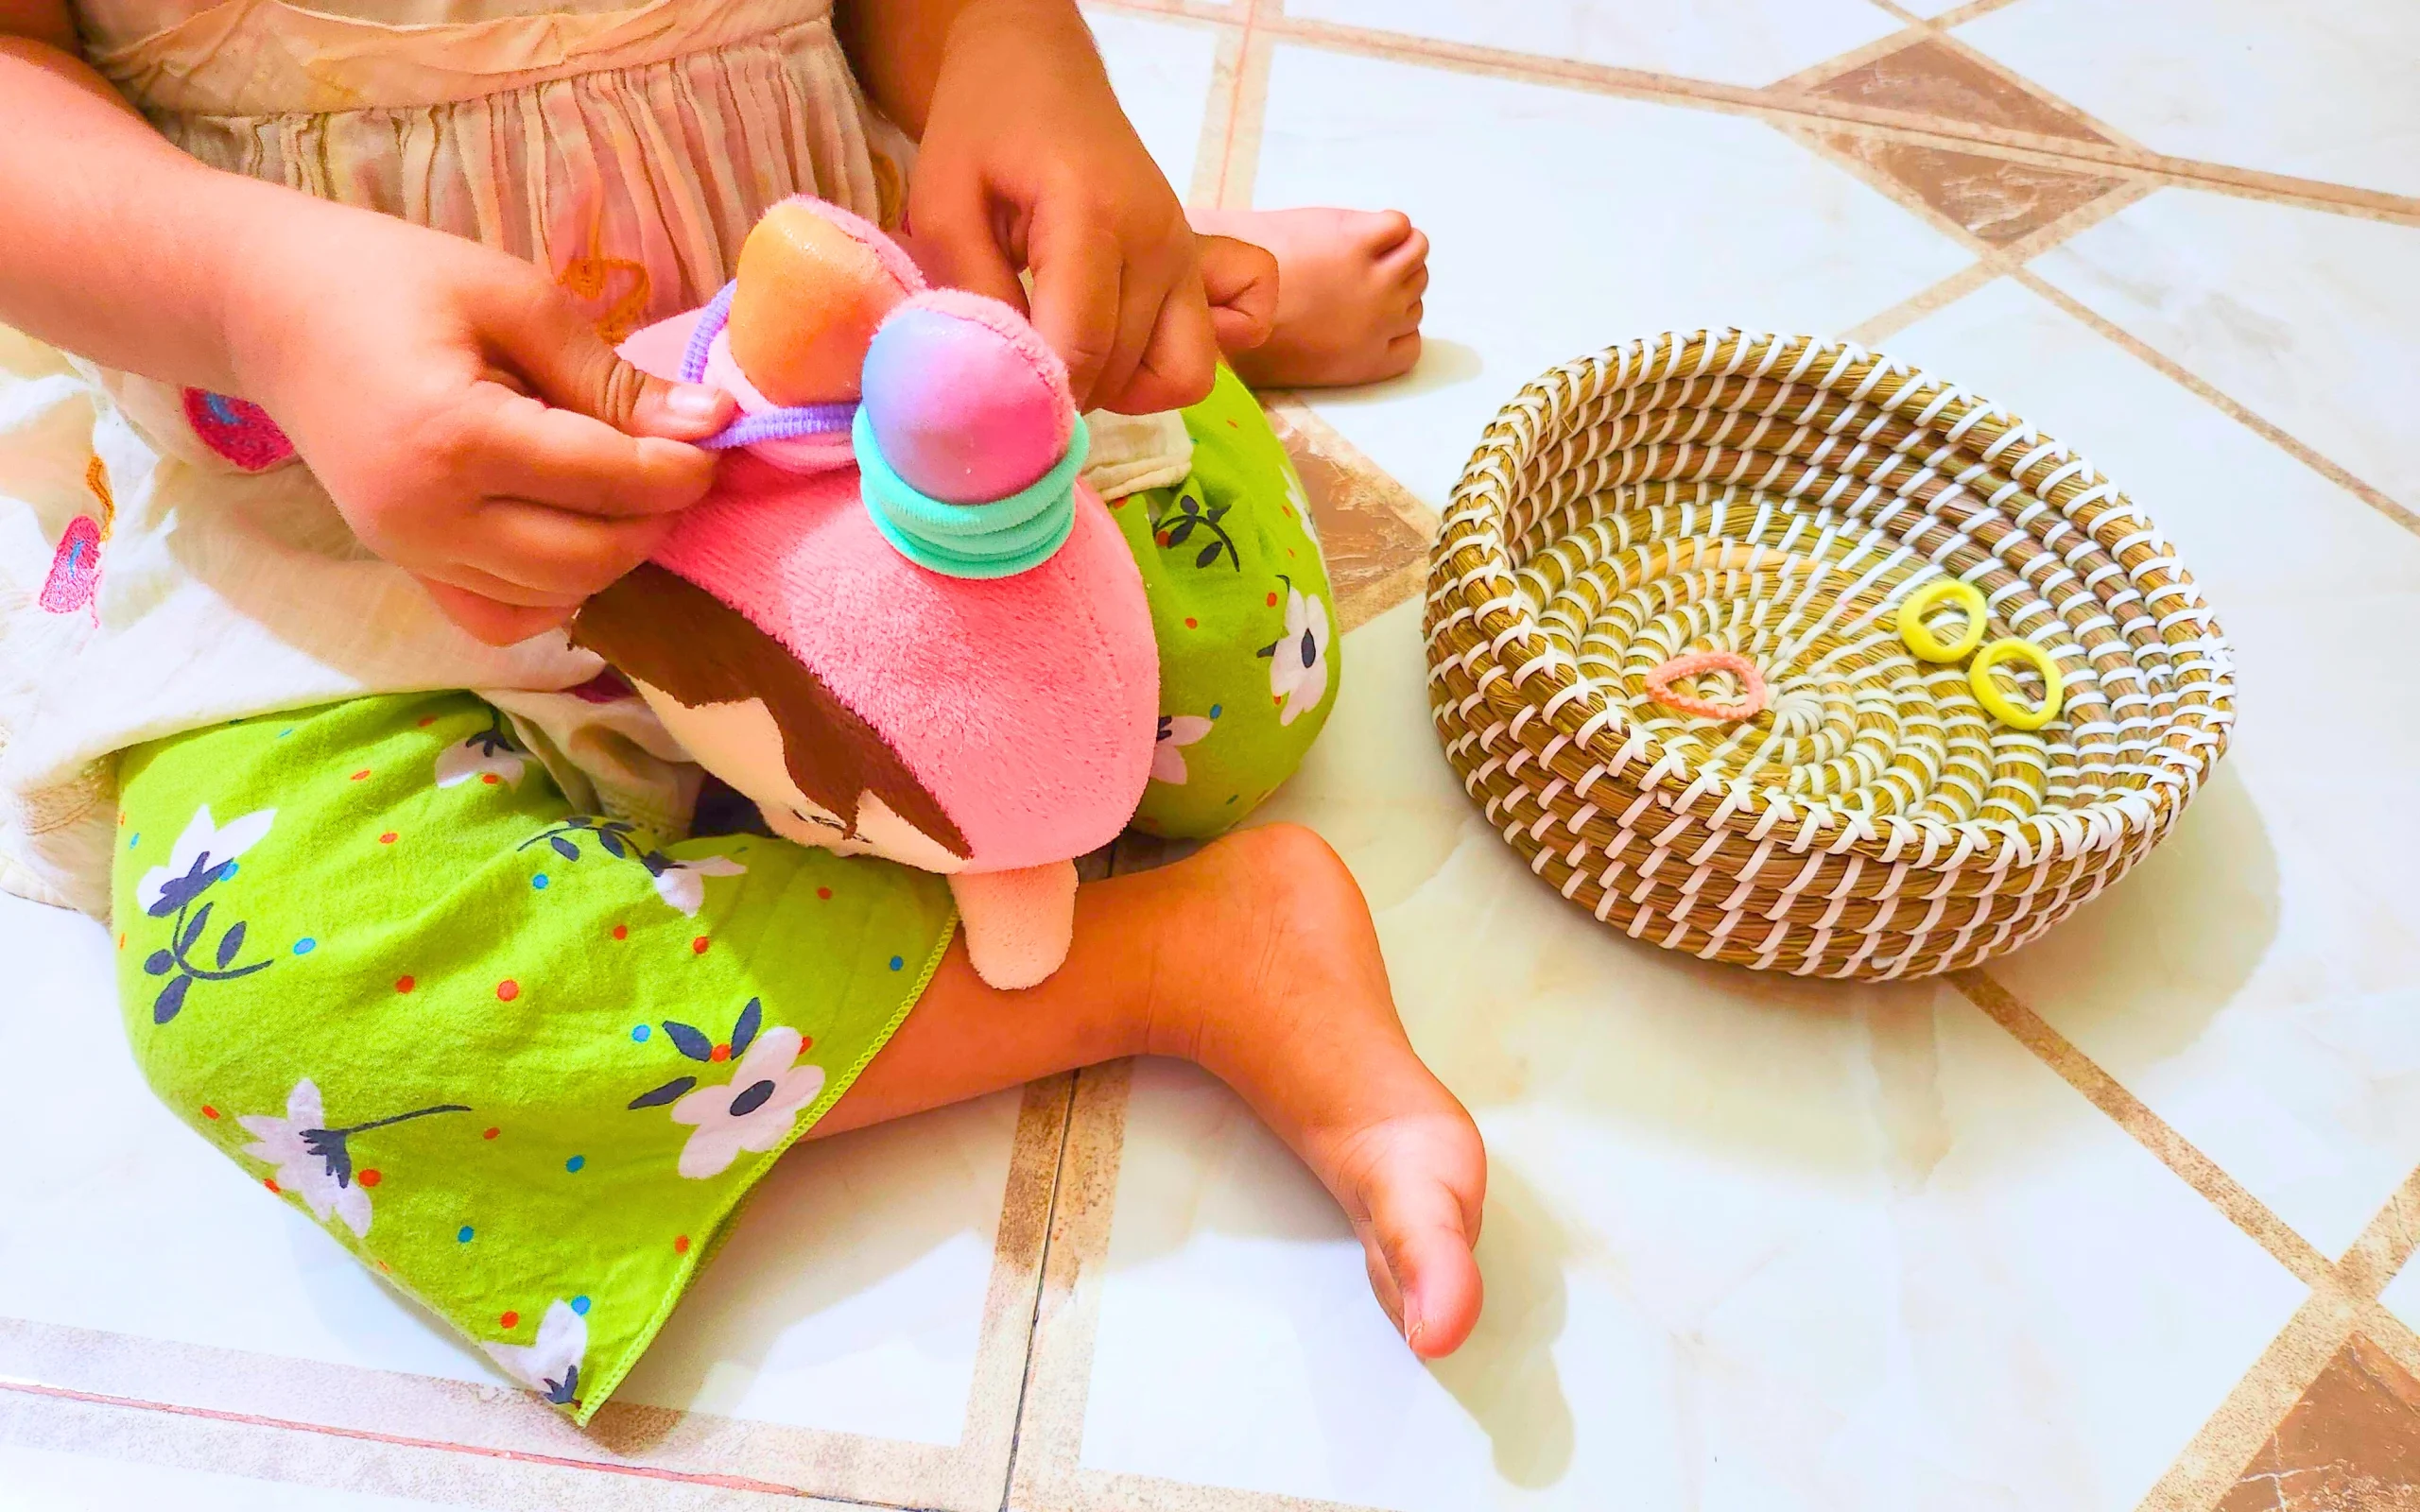
She got frustrated and cried. I calmed her down by giving her a favorite stuffed toy and said, “Let’s tie this baby doll’s hair.”
Surprisingly, she could loop the bands on the stuffie’s hair without a problem!
Her first encounter with the geoboard felt like a disaster. I even thought it was a waste of time.
But once she turned 2, her fingers got more precise. Now she plays like a pro!
So if your toddler is under 2, expect a bit of frustration — and remember: it’s all part of their growth.
How Long Will It Keep Your Toddler Engaged
Once my toddler mastered the activity, she played with it for up to 30 minutes. (including tying up her stuffie’s hair)
Before that, it held her attention for about 10 minutes.
To keep it fresh, I rotate it every other week.
Frequently Asked Questions
The Styrofoam base of the DIY geoboard is somewhat fragile due to its susceptibility to toddler-level rough handling.
One day, my toddler figured out she could break apart the Styrofoam and send the little Styrofoam beads flying everywhere. From then on, that became her favorite part of the activity! So, I have to keep an eye on her whenever she’s into it.
I usually store my toddler’s rotated toys in a designated space in my cupboard.
Since I don’t have a big house, I can’t afford a dedicated storage room — and that’s okay! This simple system works for us.
Yes—if you don’t want your room flooded with tiny Styrofoam beads, supervision is a must!
And of course, watching also reduces the chance of your toddler mouthing the colored wooden sticks (because let’s be honest—some toddlers still enjoy putting everything in their mouths!).
You’ll find tons on YouTube and Spotify! You can play one on a speaker or sing it yourself.
Have you tried a similar activity with your toddler?
I’d love to hear how it went in the comments!